Creating your own personalized bracelets isn’t just a fantastic way of being able to enjoy accessories that fully suit your tastes, but it’s also a creative activity that can become a very relaxing and entertaining hobby. You can create personalized jewelry with special messages as a gift for someone or yourself. If you’re not sure where to start, keep reading. Below, we suggest some techniques for creating personalized bracelets and designing unique pieces of jewelry.
BRACELETS WITH BEADS AND CHARMS
As you already know, costume jewelry with beads is taking the fashion world by storm. So, why not create your own personalized bracelets with letter charms? It’s the best way to obtain jewelry with unique messages and a deep meaning. To create a simple bracelet with letter charms, you only need the charms themselves and a thread or cord. Thread the letters and make a knot after each one, as well as one before the first letter so they stay in place. You can leave it as it is and tie it to the wrist with a sliding knot or add a more professional fastening that you will find in a craft store or haberdashery. When it comes to the message, you can go for initials, names, dates, or any other word or phrase that has a special meaning for you or the person you are planning on giving it to.
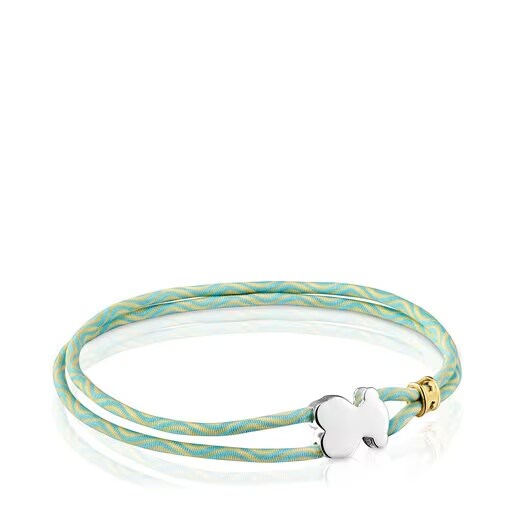
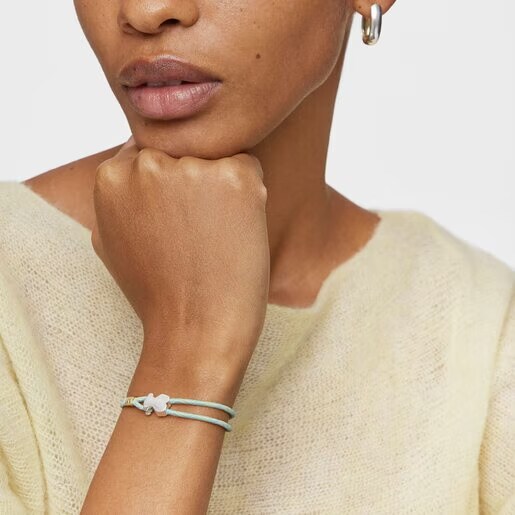
BRACELETS WITH KNOTS
To create personalized bracelets with the knot technique, you just require some strips of fabric or cord in various colors. We’re going to explain the simplest method to you that will help you create a bracelet with diagonal rows of colors. Choose your favorite colors, or those of the person you are going to gift it to. Start by tying a knot at one end, joining together all the cords. The more cords or strips of fabric you use, the wider your bracelet will be. Leave enough space on the short side so it can be used as a fastening at the end, approximately 5 cm. Now take the first cord and tie it with the next one that is to its right. Then, tie this cord with the next one. Keep knotting the cords in order, until the first cord is tied to all of them and moves through to the last row. Now take the cord that has ended up as the first on the left (before it was the first one) and do the same, tying it in order with each cord until it ends up being the last one on the right of everything. As you keep going, you’ll notice that you are creating diagonal rows in different colors. Once you get the hang of it, it becomes a very relaxing craft. If you’re bold enough, and you want to personalize it in the most original way possible, add small beads as you tie the knots. Experiment with different materials and colors to create unique personalized bracelets. When you think the bracelet is long enough, tie all the cords together in a knot. You can plat the two ends that tie the bracelet to the wrist or leave them loose, whichever you prefer.